How to: Add a New POS Location
Learn how to use the POS Location feature to define your park's POS needs by physical location.
Summary:
Effortlessly enhance your Campspot POS Storefront by adding and organizing POS locations within your park. This guide provides step-by-step instructions for efficiently setting up and defining locations to tailor your Point of Sale needs.
Step-by-Step Instructions:
Step 1: Navigate to the Locations page
- Using the main navigation, click on Point of Sale
- Click on the Admin tab
- Select the Locations page
Step 2: Add Location
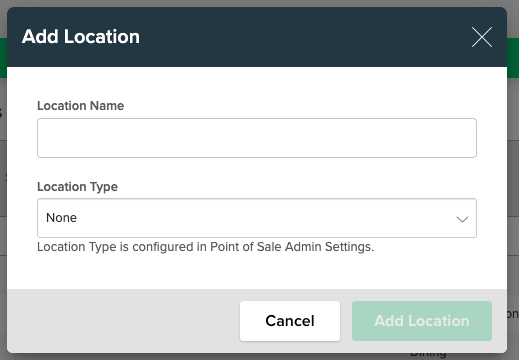
- Click on the green Add Location button
- Define the Location Name
- Select Location Type
- Click Add Location to complete the process

Edit Locations
To edit a location, simply click the location from the list and make any desired updates to the Location Name or Location Type. Click "Save Changes" to complete the update.
Additional Resources:
- Locations: What's on the page?
- Define Location Types
.png?width=200&height=150&name=campspotlogo2019%20(1).png)