.png?width=200&height=150&name=campspotlogo2019%20(1).png)
Summary:
This step-by-step guide explains how to star items on the POS Storefront in Campspot. By following these instructions, POS users can easily filter the Product list, ensuring quick access to prioritized items. The process involves updating user permissions, adding items to the Starred list, and utilizing the Starred slider button for efficient organization.
Uses:
-
Prioritize Essential Products: Add key items to the Starred List for quick access and prioritization on the Storefront.
-
Efficient Checkout Process: Streamline the checkout process by curating a personalized list of frequently used or important products.
-
Centralized Product Management: Ensure consistency as all users accessing the park's Storefront POS view the same list of Starred items by location.
Add POS items to Starred List on Storefront
Campspot's POS Storefront provides a convenient way to prioritize and access essential products through the Starred Items feature. Follow these steps to set up and utilize Starred Items effectively:
Step 1: Update User Permissions
To utilize this feature, users must have the correct User Permission assigned to their role in your park's Admin Site. To edit the list of Starred Items, ensure the Star and Unstar product items. Role permission is checked.
Best Practice:
Enable this feature only for select users (i.e.Front Desk Manager, Supervisor, Store Manager). This feature is very useful, but once set, all users will see the same list of Starred items by Location.
Click here to learn more about User Management.

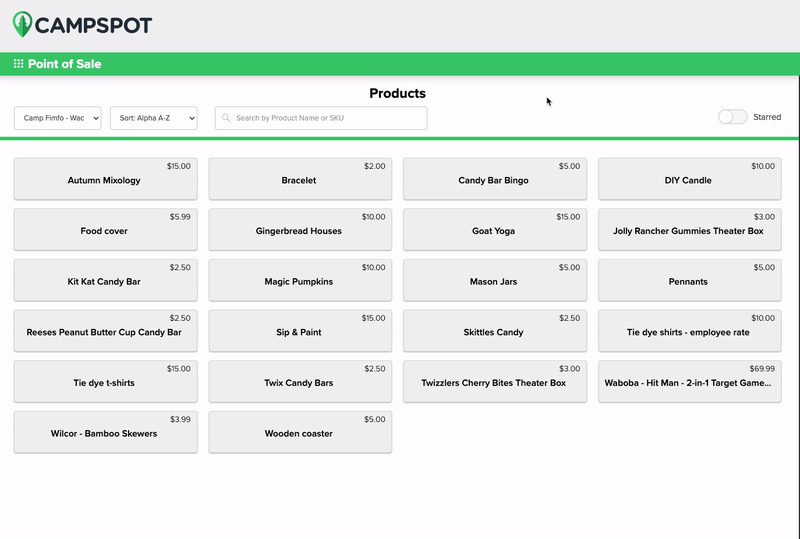
Step 2: Add items to Starred in the Storefront
- Navigate to your Point of Sale Storefront.
- Click the Starred toggle button.
- An "Edit Starred Items" option appears above the Product list.
- Click the Star icon to add a product (solid green star) or Unstar to remove (clear with a green outline).
- Save your selections by clicking the "Save Starred Items" button.
Step 3: View your Work
-
Once items are selected, POS Storefront users can utilize the Starred slider button as a filter.
-
Click the Starred button to display the Starred list at the top of the Product list.
-
To view all products together, simply turn off the Starred slider button.
Most Common FAQ:
Q: Who should have permission to star items on the POS Storefront?
It is recommended to assign the "Star and Unstar product items" permission to select users such as Front Desk Managers, Supervisors, or Store Managers to control the curation of Starred Items.
Q: Can I remove items from the Starred list?
Yes, you can remove items from the Starred list by clicking the Unstar icon (clear with a green outline) when editing Starred Items.
Q: Will all users see the same Starred Items on the Storefront?
Yes, since Starred Items are set up at the Storefront level, all users using the park's Storefront POS will see the same prioritized items.
Q: How do I reset the Starred list to include all products again?
Simply turn off the Starred slider button to filter all products together and organize them without prioritization.