.png?width=200&height=150&name=campspotlogo2019%20(1).png)
Summary
This article guides you through the process of scheduling report deliveries in Campspot Analytics. With easy-to-follow instructions, you can efficiently set up automated report deliveries, saving time and ensuring you receive the information you need when you need it.
Uses
Scheduling report deliveries allows you to automate the process of receiving essential data, ensuring that your team stays informed and up-to-date with the latest insights. Whether you're monitoring guest reviews, park performance, or any other data, this feature helps you stay in the loop without manual efforts.
Instructions
Step 1: Fill out Schedule Delivery dialog
- Access the report you want to schedule delivery for.
- Click on the icon with three vertical dots in the report's top-right corner.
- Select **"Schedule Delivery."**
- Complete necessary fields on each of the following tabs:
Review each below, or click here to skip to the next step.
** Please Note: Schedule Report Delivery after 9 AM EST**
For optimal accuracy in capturing the previous day's data, we recommend scheduling report deliveries after 9 AM EST. This ensures that the most comprehensive and up-to-date information is included in your requested reports.
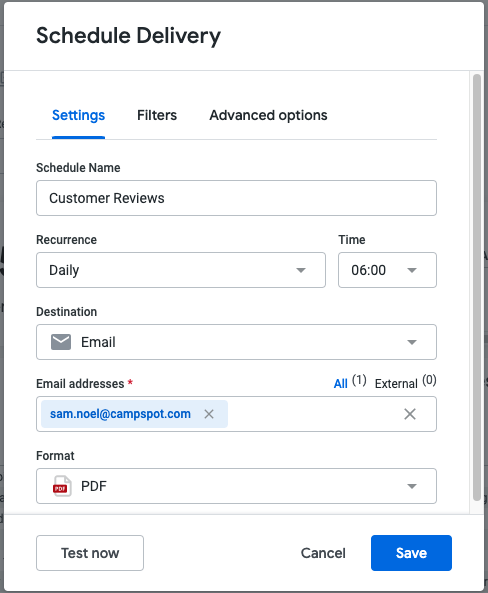
Settings
- Assign a schedule name.
- Set the recurrence for receiving the report.
- Choose the delivery time.
- Select the destination (email is the default).
- Add email addresses for recipients.
- Choose the format (CSV, PDF, or PNG visualization).
Filters
- Verify Park ID and Name (multiple parks can be selected).
- Additional filters will be based on that reports filters.
For example, the report selected in the examples is for Guest Reviews. The filters available would be for Review Date, Customer Satisfaction Rating, and Has a Review Response (Have I responded yet?).

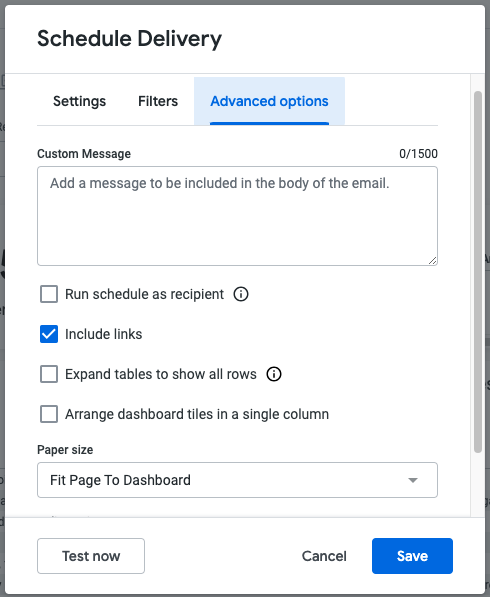
Advanced Options
- Include a custom message in the email body.
- Review and configure additional options as needed.
Step 2: Test Your Work
- After setting up the schedule, click the "Test Now" button to send a test email to yourself (the default recipient).
- Review the email and attachment for any changes.
Step 3: Save Your Work
Finally click Save. You can create multiple versions of a Scheduled Delivery report depending on your needs giving you a ton flexibility to review your parks data when, how and by whom you select.
Below is a short gif of setting a Schedule Delivery up following the steps above.
Delete a Scheduled Report
To stop a scheduled email delivery of a Dashboard you will click the three dots at the top right corner of the page, select Schedule Delivery from the menu, click the three dots next to the scheduled delivery and click Delete.
.gif?width=600&height=360&name=ezgif.com-gif-maker%20(74).gif)