.png?width=200&height=150&name=campspotlogo2019%20(1).png)
Summary:
This article provides step-by-step instructions on making reservations using the Reservation Grid in Campspot.
Uses:
Learn how to efficiently book reservations for guests, apply discounts, and manage payment methods using the Reservation Grid.
Instructions:
1. Access Booking and Start a New Reservation:
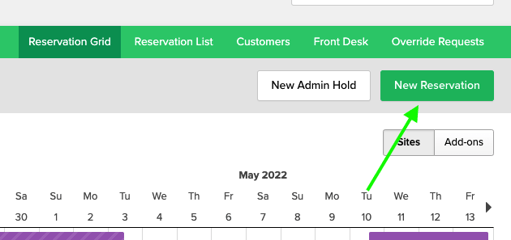
- Select Booking from the main navigation. You will be navigated to the Reservation Grid.
- On the Reservation Grid, click the green New Reservation button on the right side of the screen.

2. Search Available Sites:
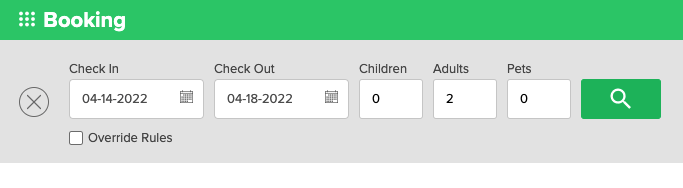
- Select Check-In and Check-Out dates.
- Click the green magnifying glass button to search for available sites.
Tip: Enhance your search by using the Filter By options on the left.
3. Select and Reserve a Site:
- After searching, the Reservation Grid will display available sites matching your criteria.
- Green 'Select' buttons appear for available sites.
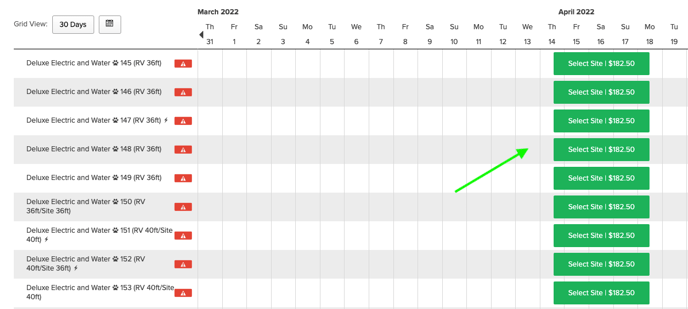
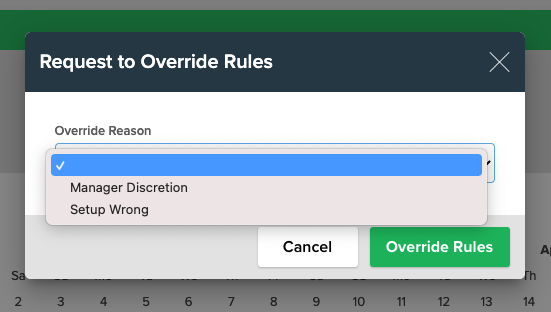
Tip: If no sites are available and you believe there should be, you can override rules by checking the Override Rules box and selecting a reason. Managerial privileges may be required to Override rules.
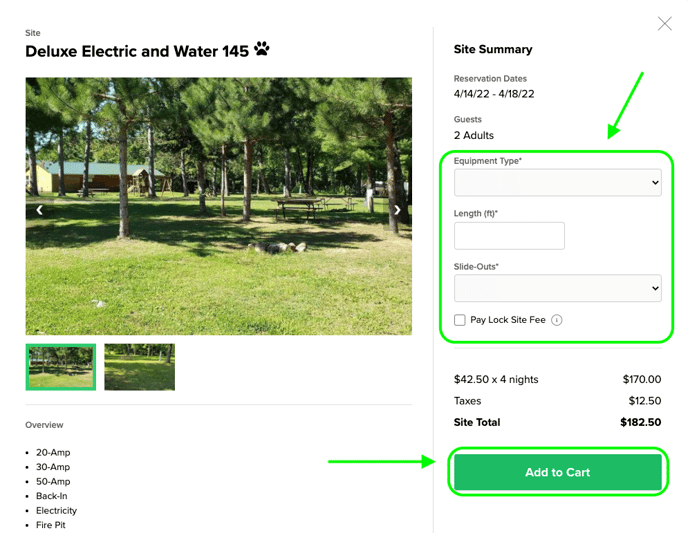
4. Site Selection and Cart:
- Choose the site to reserve and enter any RV equipment information (if required).
- Indicate if you are locking the site (A Flexible Lock Site Fee may be required based on your park's requirements. This fee can be automatically applied to the booking given system rules).
- Click "Add to Cart."
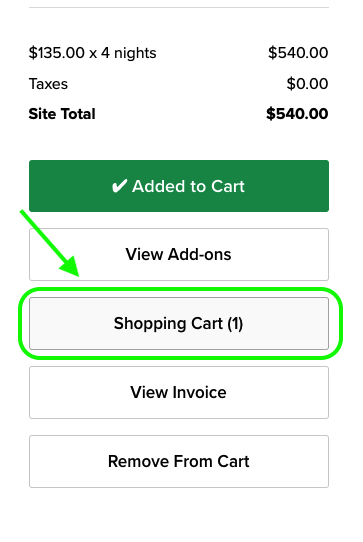
5. Proceed to Checkout:
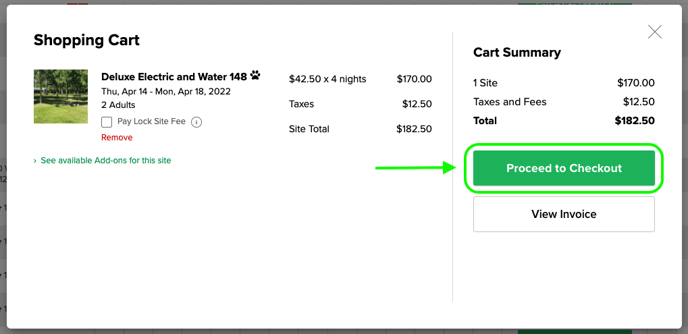
- Click the Shopping Cart button on the Site Summary window.
- From the Shopping Cart, click "Proceed To Checkout" to enter guest information.
6. Guest Information and Payment:
- On the first checkout page, enter guest contact and billing information.
- If the guest has reserved before, use the green "Select Existing Guest" button to search for and autofill their information.
- Apply promo codes or discounts if needed.
- Ensure all required information is filled out. The reservation cannot be processed without filling out the required information.
- Click "Continue to Payment."
Note: If your guest has an address outside of the United States, select their country first to adjust the phone number and postal fields in order to enter accurate information.
.gif?width=600&name=ezgif.com-gif-maker%20(45).gif)
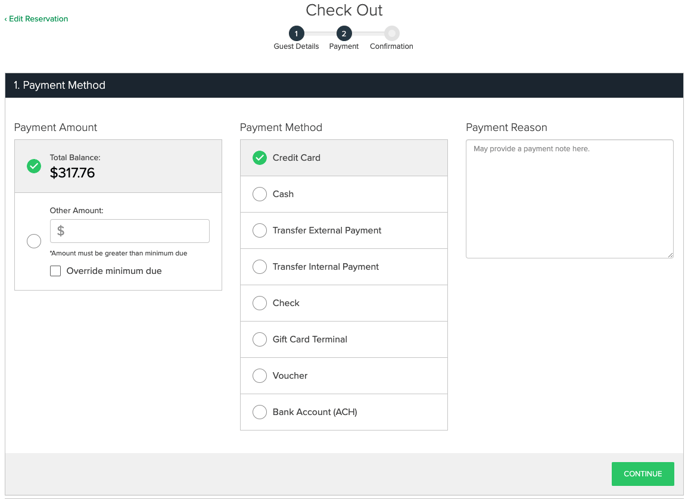
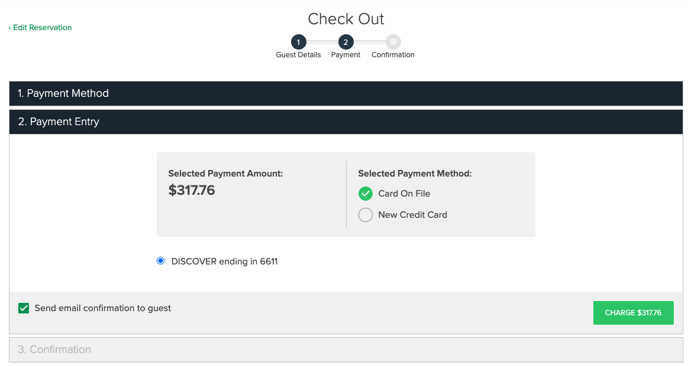
7. Payment and Confirmation:
- Confirm the payment amount and select the Payment Method.
- Click Continue
Note: If the amount being paid differs from the Total Balance, use the "Override Minimum Due" option. If Overriding Minimum Due, enter the amount of the deposit in the "Other Amount" box.
8. Reservation Confirmation:
- Follow payment prompts based on the method selected.
- Choose to send an email confirmation.
- Click to green Charge button to process the payment.
After the payment is submitted, the reservation is confirmed and will show on your Reservation Grid and Reservation List.
Visit this page for a video walk-through of making reservations including Pencil-in Holds and Group Reservations.